Phonon 4000 Headphone Refactoring

It’s a familiar problem to anyone who’s bought a pair of headphones. You spend $249 on a relatively high-end model and they end up next to useless - let down by a wear-and-tear induced failure in the $1.50 plug attached to the end of the cable.
I’m not an audiophile by any stretch of the imagination (as evident from the fact I think a $249 pair of headphones is high-end) but I loved how these sounded and I’m not particularly interested in shelling out on a replacement pair.
Seperation of concerns
You’d think it would be relatively simple to simply chop off the broken plug and solder another on. The problem is that the inner wires of the cable are so thin that my attempt to do so ended up with an equally dodgy and fragile plug.
I’m also just really bad at soldering plugs.
As a final try and I thought it might be worth trying to instead rip out the existing cable with its fiddly not so solder-friendly wiring and install a 3.5mm socket in the headphones themselves. I would then be free to use any replaceable cable with the headphones. I could even splash out and use some coiled cabling. Fancy!
Black box testing
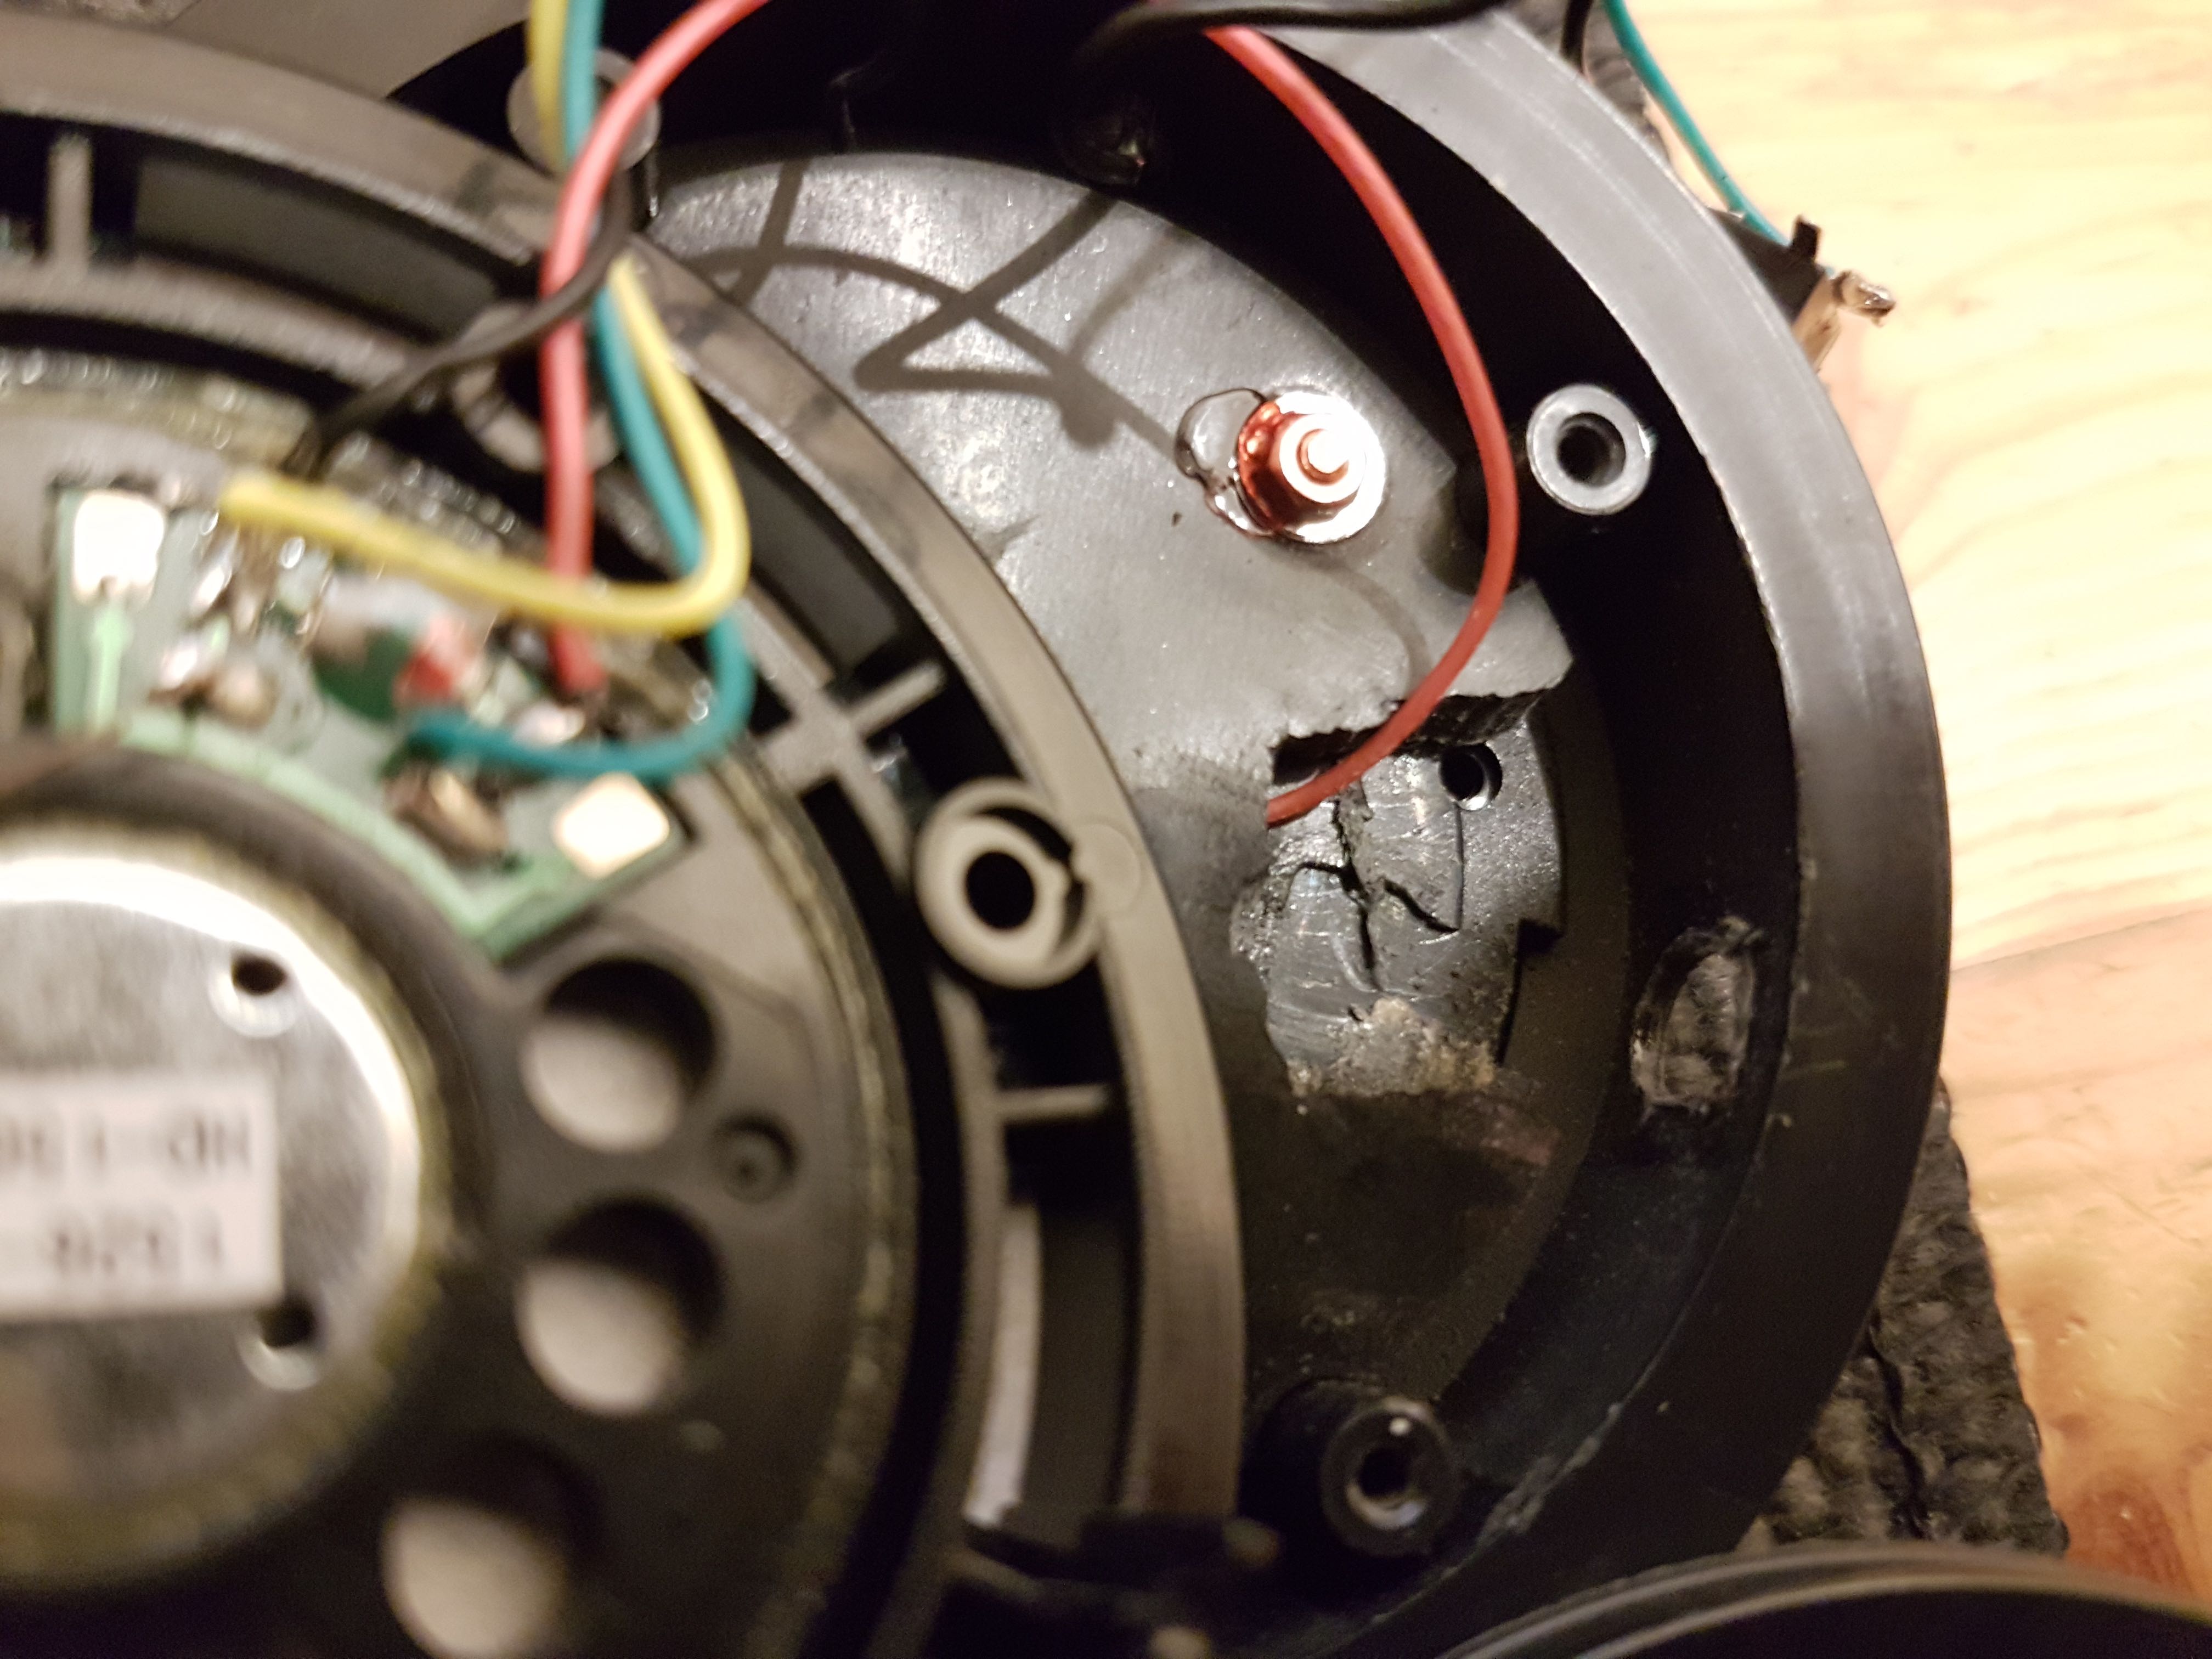
When I initially attempted to replace the plug, I discovered through process of trial-and-error what each of the coloured wires in the cable represented. My guess was later confirmed when I had to open up the cups themselves to add the socket. For anyone who needs to mod their own pair; here’s the wiring:
| Wire | Channel | Polarity |
|---|---|---|
| Green | Left | Positive |
| Yellow | Left | Negative |
| Black / Crimson | Right | Positive |
| Black / Copper | Right | Negative |
The right channel is the worst offender, both poles of which being completely housed in a single black plastic coated set of painted copper wires. Nasty!
Modding process
First I needed to cut out a space in the rubber shield for the socket itself, which was a fairly low-profile PCB mounted type. I also needed to file down the opening where the cable went in to expand the diameter of the hole to fit the socket:
I was then able to solder the existing wires from the now cut cable to the socket:

The socket fit snuggly into the space made and I secured it, together with the soldered wires, using a glue gun and the metal nut that came with the socket:

Here’s a nice blurry shot of the socket nut. I had to file down the plastic rim of the cup to allow the nut to fully tighten on the socket:

The finished product:

Conclusion
Although it was ultimately fun to do (and actually a very cheap and easy modification in the end) it would be great if all headphone manufacturers who even hint that they appreciate quality would put sockets on all their headphones. It would cost them very little in comparison to what they ask people to pay for a pair of these.
I’m just happy I can once again use these great pair of headphones for (hopefully) many years to come.