Repair of the Philips CM8833 Personal Monitor

A Lucky Find
I first got my hands on an CM8833 after rescuing it from underneath rubble in a skip at school. I already had an Acorn ARF-11 monitor which was essentially the same, except for one important difference. The CM8833 had a composite video input.
At least, it was a very important feature for me. I knew that a monitor that accepted composite video could support the output of a VCR, and that VCR would have a tuner. This tuner would then allow me to watch TV channels through the monitor. Being 11 years old at the time, I wasn’t permitted a TV of my own. Monitors were fine, but not a TV. Thus a cunning plan was born…
With the help of a confused but nonetheless supportive teacher, I managed to rescue the monitor. To my delight, the monitor worked and I acquired a VCR after a several months of saving up the £99 required to purchase one. A small but important step towards independence.
‘State of the Art’
That wasn’t all though. The CM8833 was quite the versatile display. It not only supported RGB input for both my BBC Micro and Sega Mega Drive but also had sported two speakers - stereo sound! Later I would hook it up to my Sony Playstation and as I grew older, my Playstation 2. It would also be used as a rather humble display for a second PC with TV-out that I managed to hobble together with old parts. It would be used to power hours of multi-player entertainment including Half-Life, Command & Conquer and Age of Empires. All made possible by the mighty null-modem serial cable. Luxury.
Before I went off to university however, the monitor bit the dust. It seemed to be completely dead albeit for a high pitched whine. A sad end given it had given me such joy throughout my childhood. In addition, an incident made sadder by me assigning it to the electrical disposal bin at recycling centre. In retrospect I wish I kept it. It was probably quite repairable, but at that age I had more immediate things to concern myself with.
And now, 16 years later, I still have my BBC Micro and I still have my consoles stashed away in storage. I decided that it was probably time to sell off any redundant parts that I had. I still had two RGB monitors - one a CUB monitor and my old Acorn AKF11. I wanted to sell both and replace them with my old friend, the CM8833, which I would buy on eBay. A rare item, I nonetheless found a seller and arranged for delivery.
Disaster
The monitor was damaged in the post. The CRT itself had become detached on one side of the plastic frame holding it, although it was not physically damaged itself. When powered on, there was no lit power LED. the monitor emitted a loud buzzing sound from the speakers and a bright white picture would appear with scrolling lines. None of the front controls worked.

I got my money back from the seller and I did not have to return the unit. With nothing to lose I decided I might as well open up the unit and survey the damage. Who knows, maybe it could be salvaged?
CRTs are scary
I don’t particularly enjoy electric shocks. Having been electrocuted with a healthy domestic dose of 230 volts at various points in my lifetime, I do remember it not being a pleasant experience. Electricity is certainly something to be respected.
The trouble with CRT-based monitors is that the tube (and associated components) tend to hold a charge after they are powered down. CRTs are in-effect a massive glass capacitor, holding thousands of volts, with charge dying to escape through the soft flesh of a human hand.
The potential for pain doesn’t end there. CRTs have all the air sucked out of them at manufacturing which means that they are highly pressurised. Dropping or cracking the screen at a weak point could cause an implosion, sending shards of glass in all directions. Fortunately modern CRTs have a metal implosion belt attached to them to prevent this happening, although they are no less fragile, especially around the neck area.
In order to work on a CRT monitor safely, one must first discharge the CRT. After watching countless how-to videos (thus making me an expert overnight), I constructed a makeshift discharge tool with a jumper lead and flat-head screw driver. I attached the jumper lead to the metal ground belt around the CRT, and then slipped the screw driver end under the anode suction cap attached to the CRT. I was told to expect a large spark of light and loud pop, but none came.
It turns out that some monitors contain bleeder resistors that ensure that the CRT is discharged automatically when the monitor is powered off. Trouble is, these can fail, so you always need to attempt a discharge as a pre-caution.

After I removed the casing and discharged the CRT, I was able to disconnect the main board and inspect the damage.
A Sorry Sight
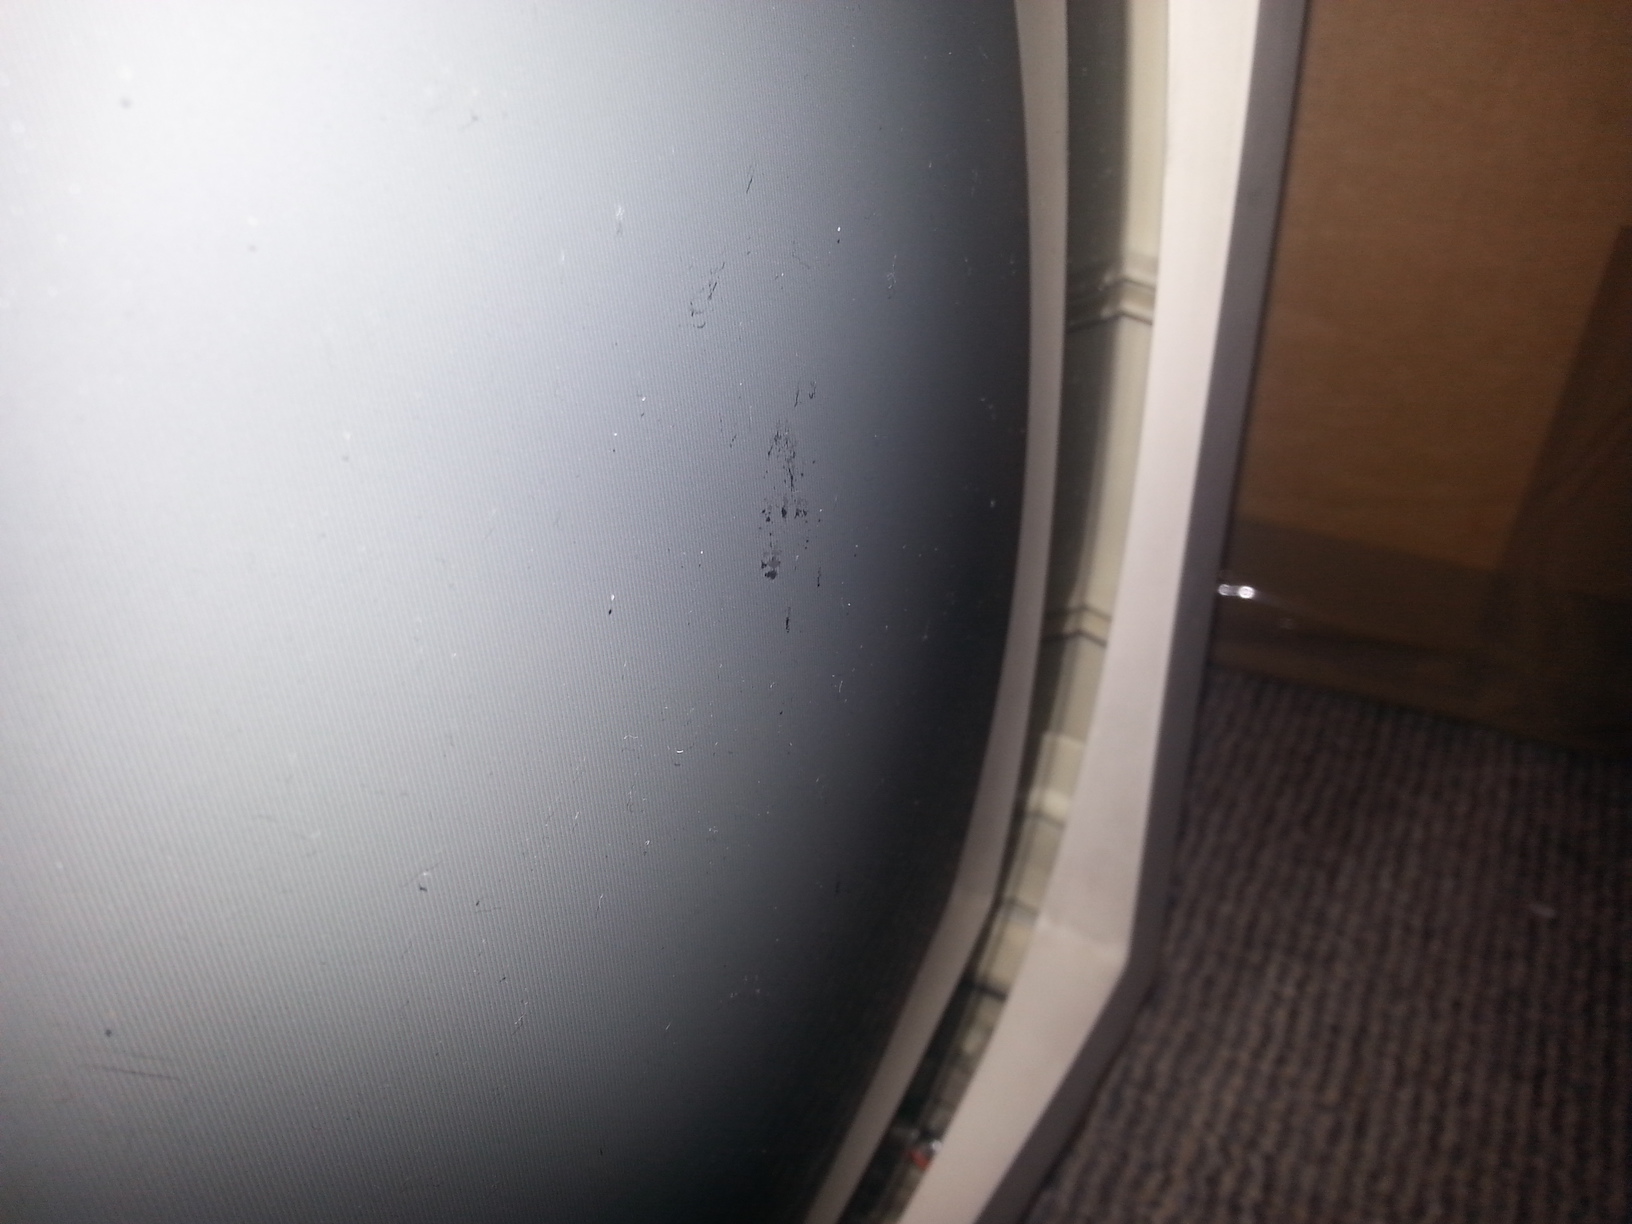
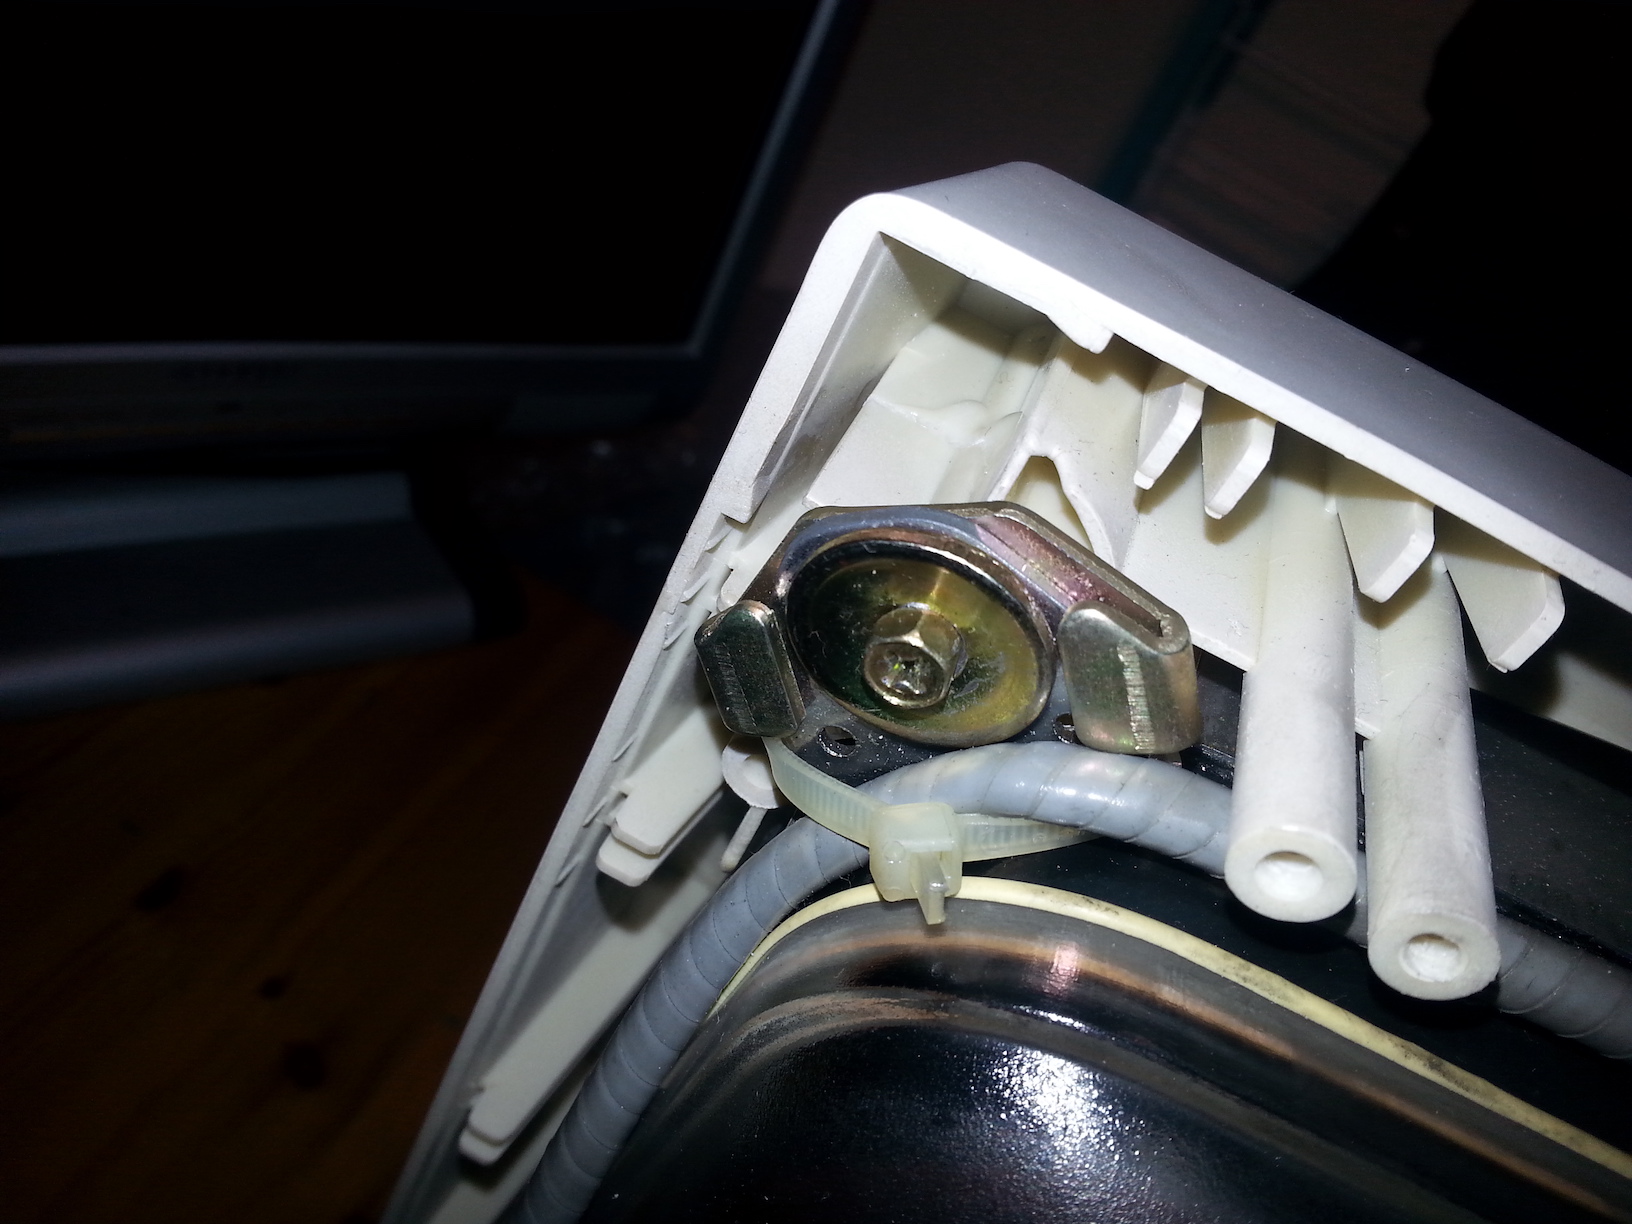
The CRT is attached to the front case of the monitor by screws; but the right side of the monitor had snapped the plastic away from the case:
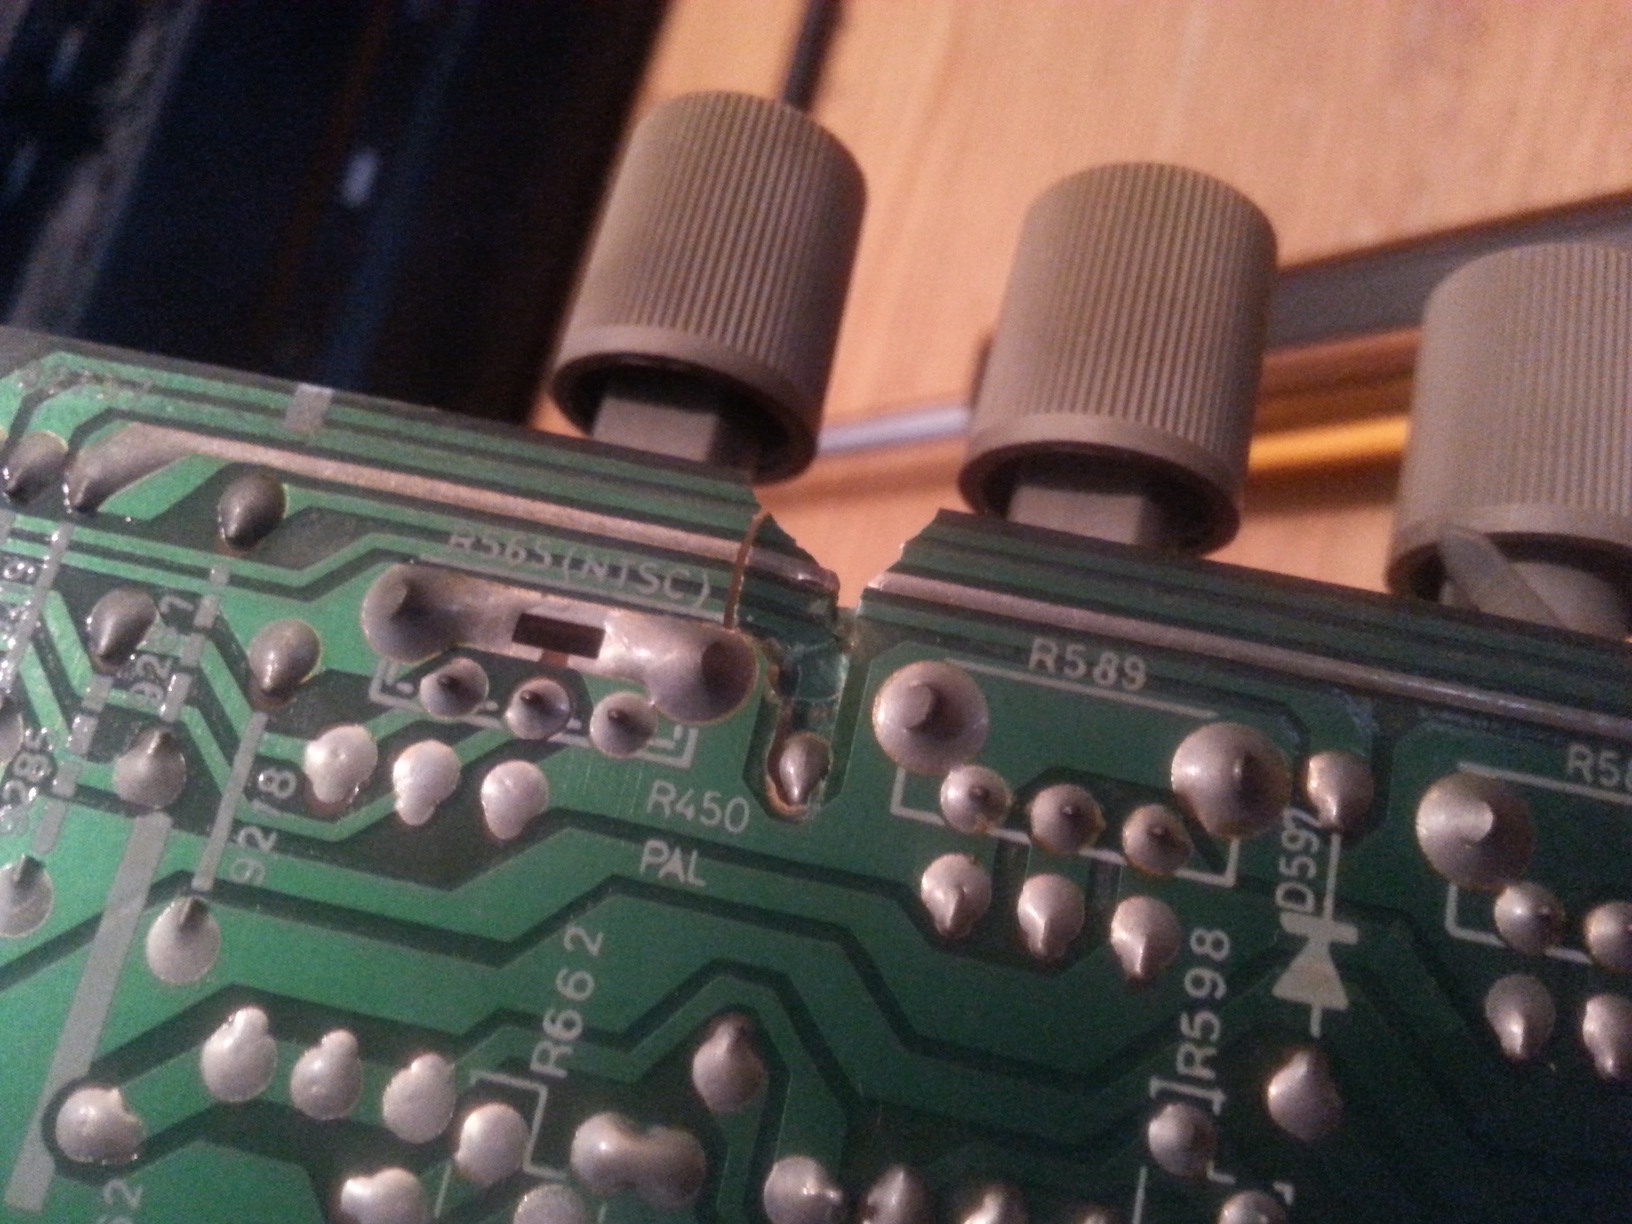
The circuit board had cracked in several places where the front controls were:
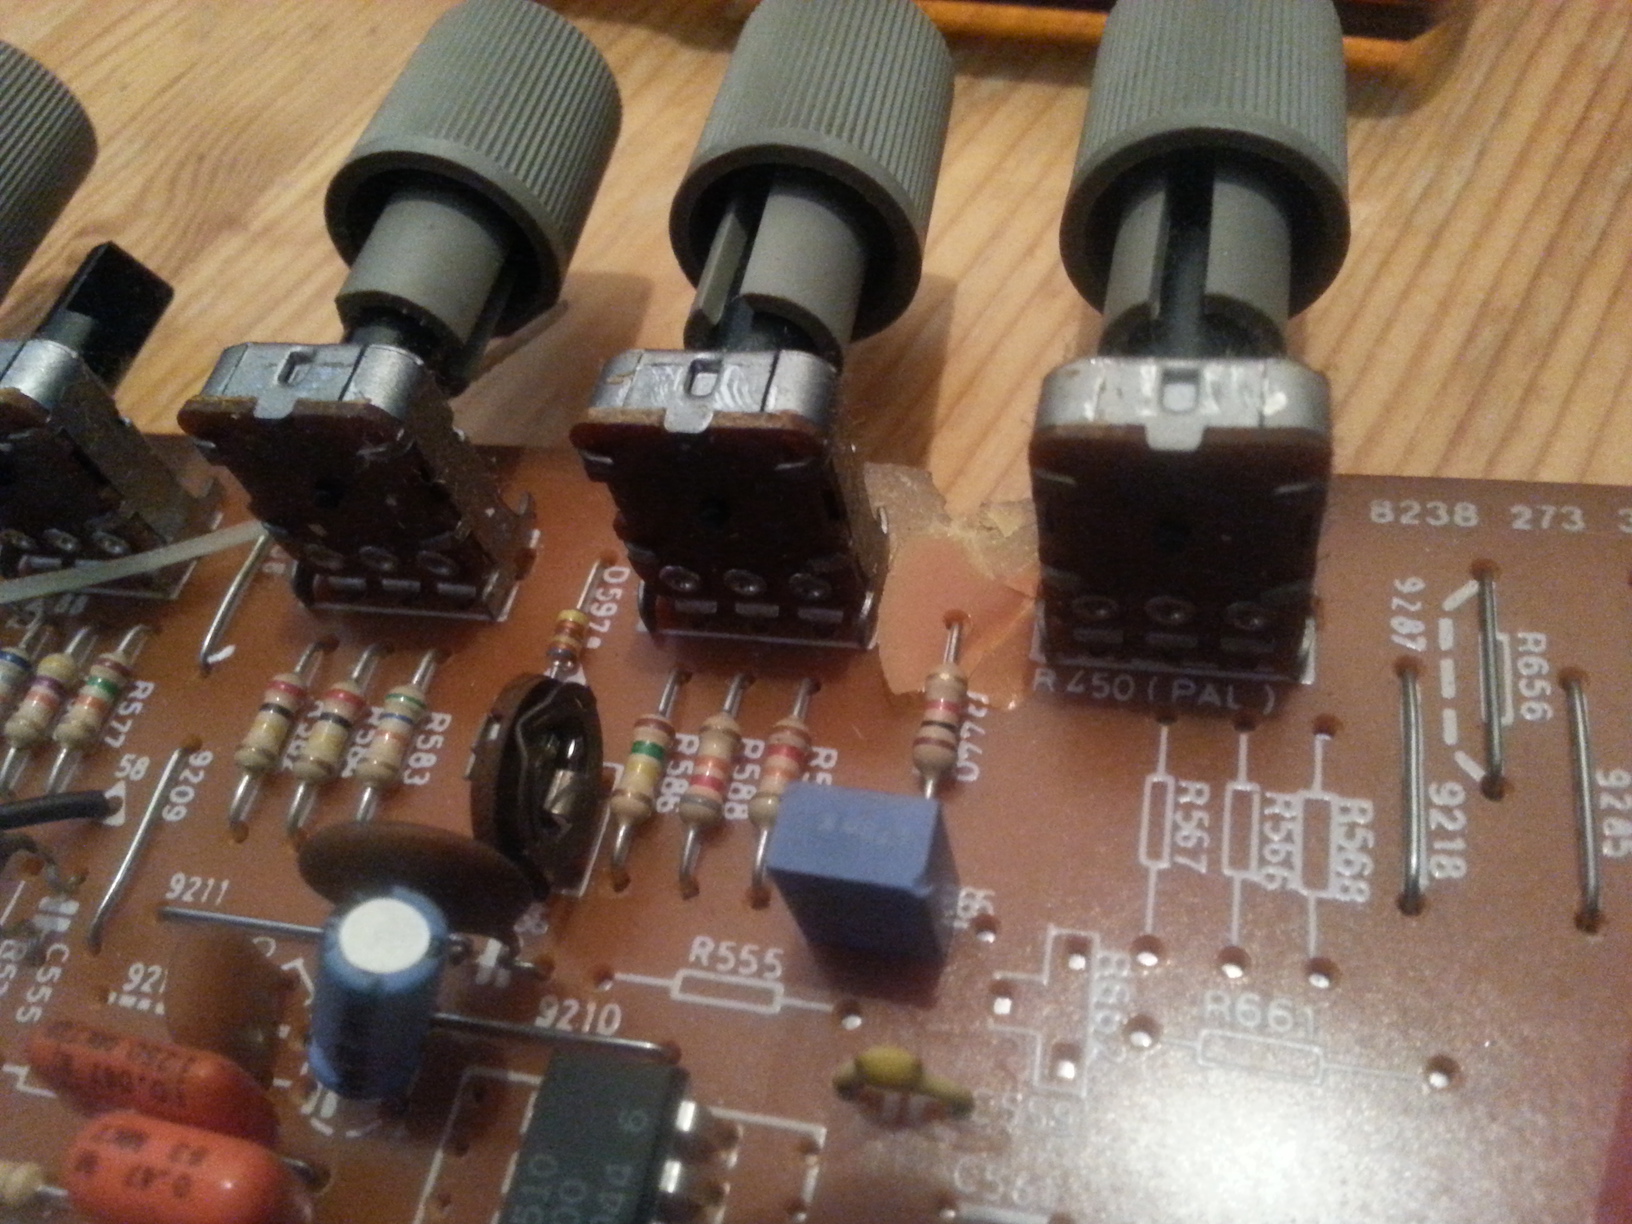

The cracks broke the circuit board traces in many places:
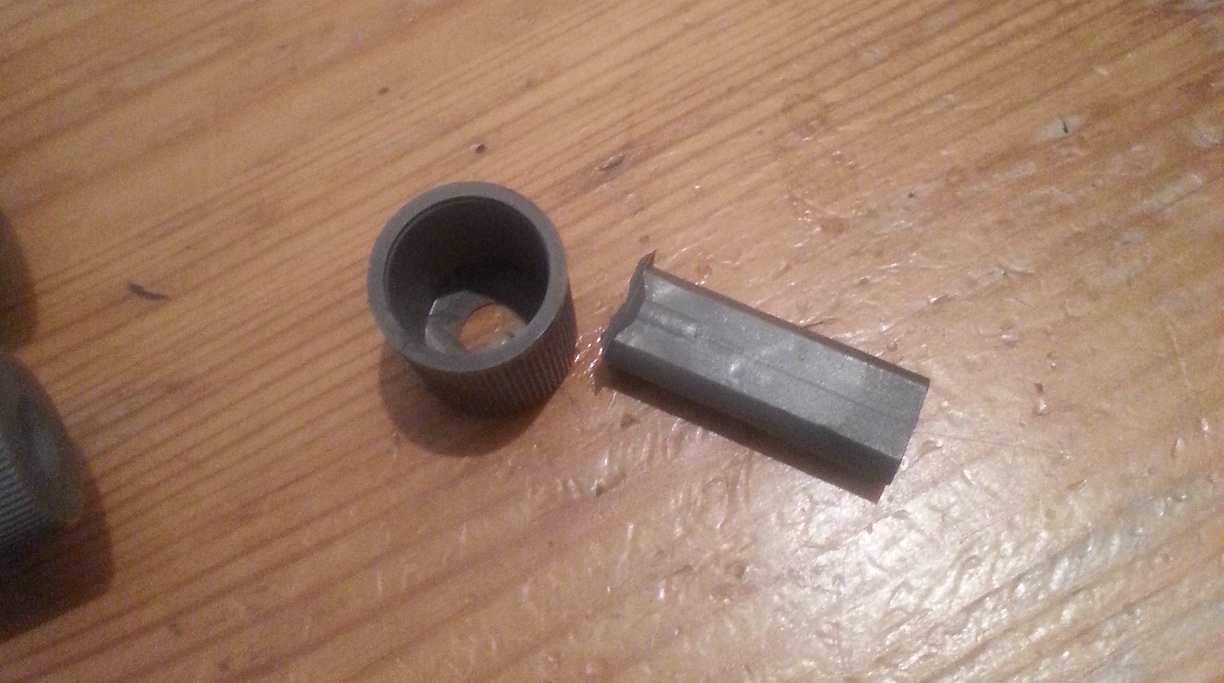
One of the front control knobs had broken too:
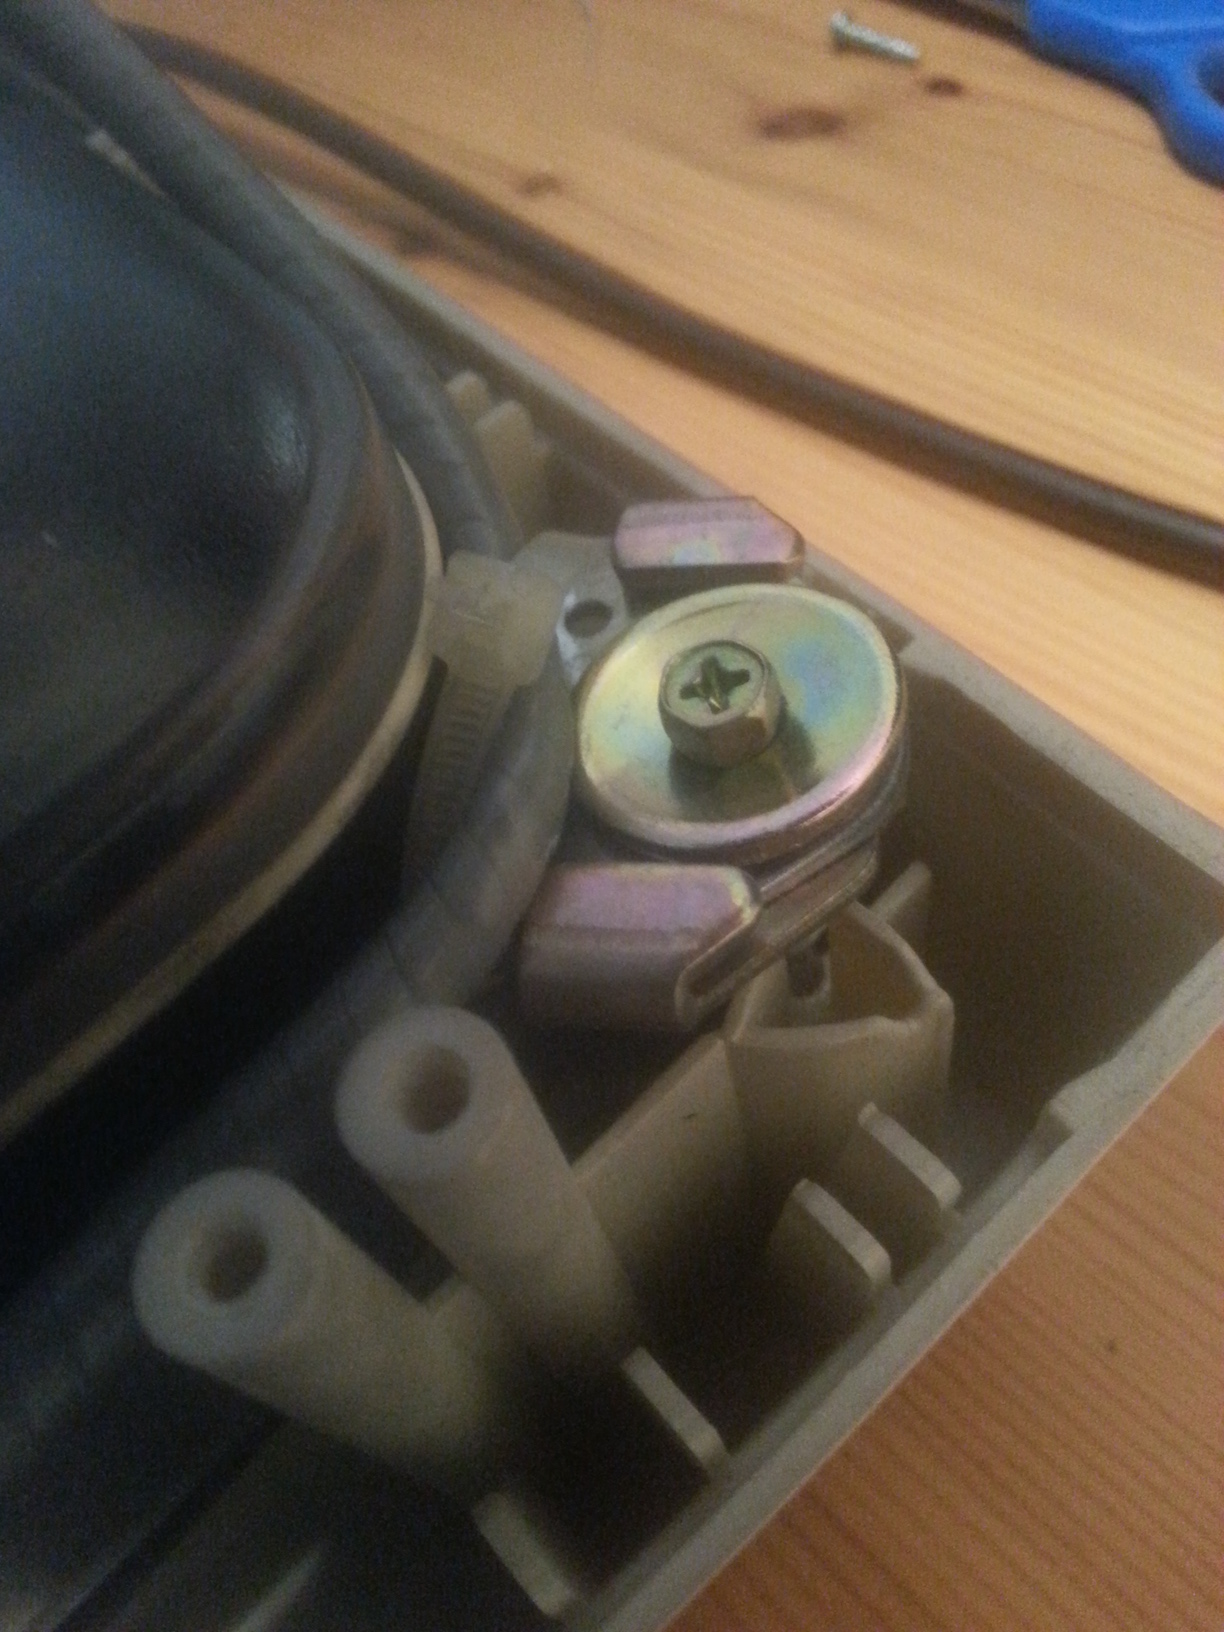
It had appeared that the board had been damaged by pressure from the front controls being pressed against the circuit board, causing it to crack. As you can see from the picture below, the board slots into the front of the case. Some force must have caused it to be pressed up against the case, fracturing the board.

The Repair Job
Securing the CRT
I re-stuck the plastic screw holders to the front case using plenty of epoxy resin (Araldite) and after waiting days for the glue to strengthen re-attached the CRT:


Mending the Power LED Board
The power LED board had been snapped in two. I stuck the board together and then re-connected the broken traces by soldering copper wire to complete the circuit:


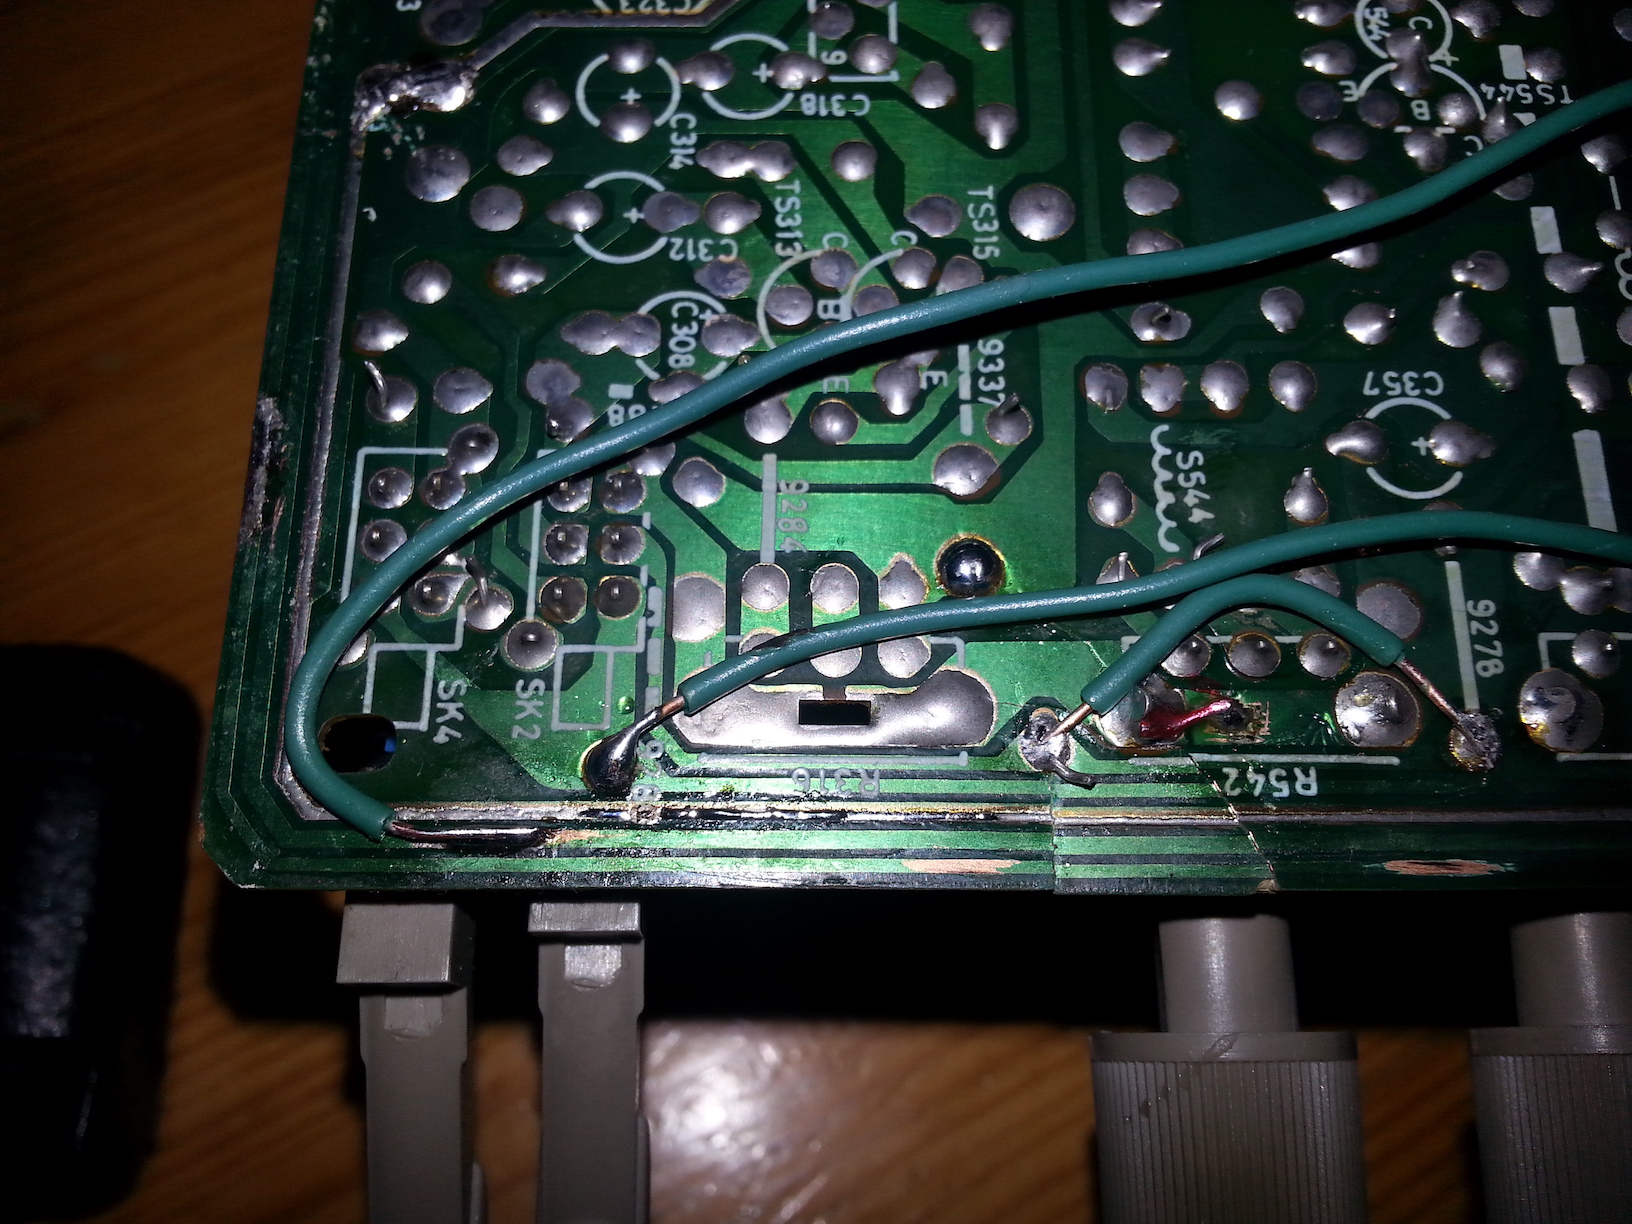
Re-routing Circuit Board Traces
I stuck what I could to prevent any more movement. I then chipped away at the traces to reveal the exposed copper and proceeded to re-route the electrical flow using copper wire soldered to the exposed traces. The electrical connections were made all the more easier to make by the use of flux - a truly magical substance that causes solder to grip the copper surfaces and form a clean bond.
I had to also be careful to not solder the leads in such a way to prevent the board from being slotted into the front of the case.

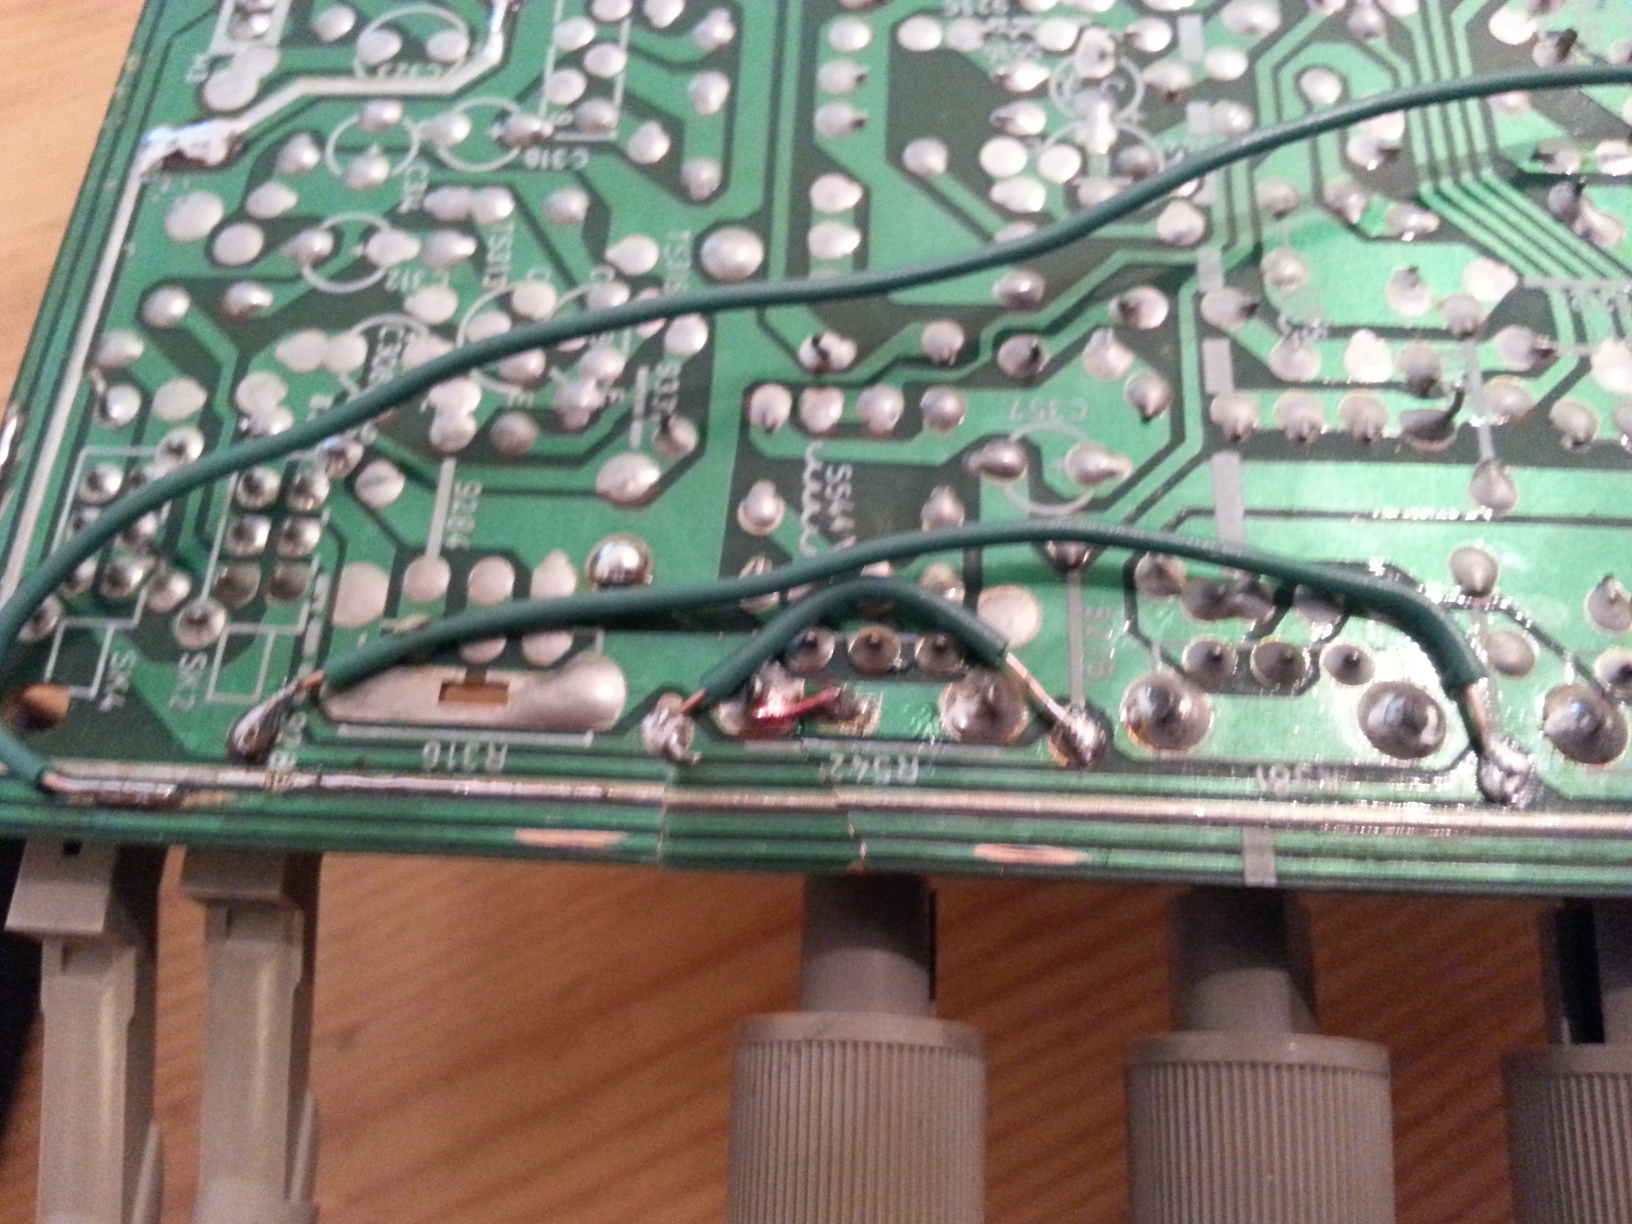
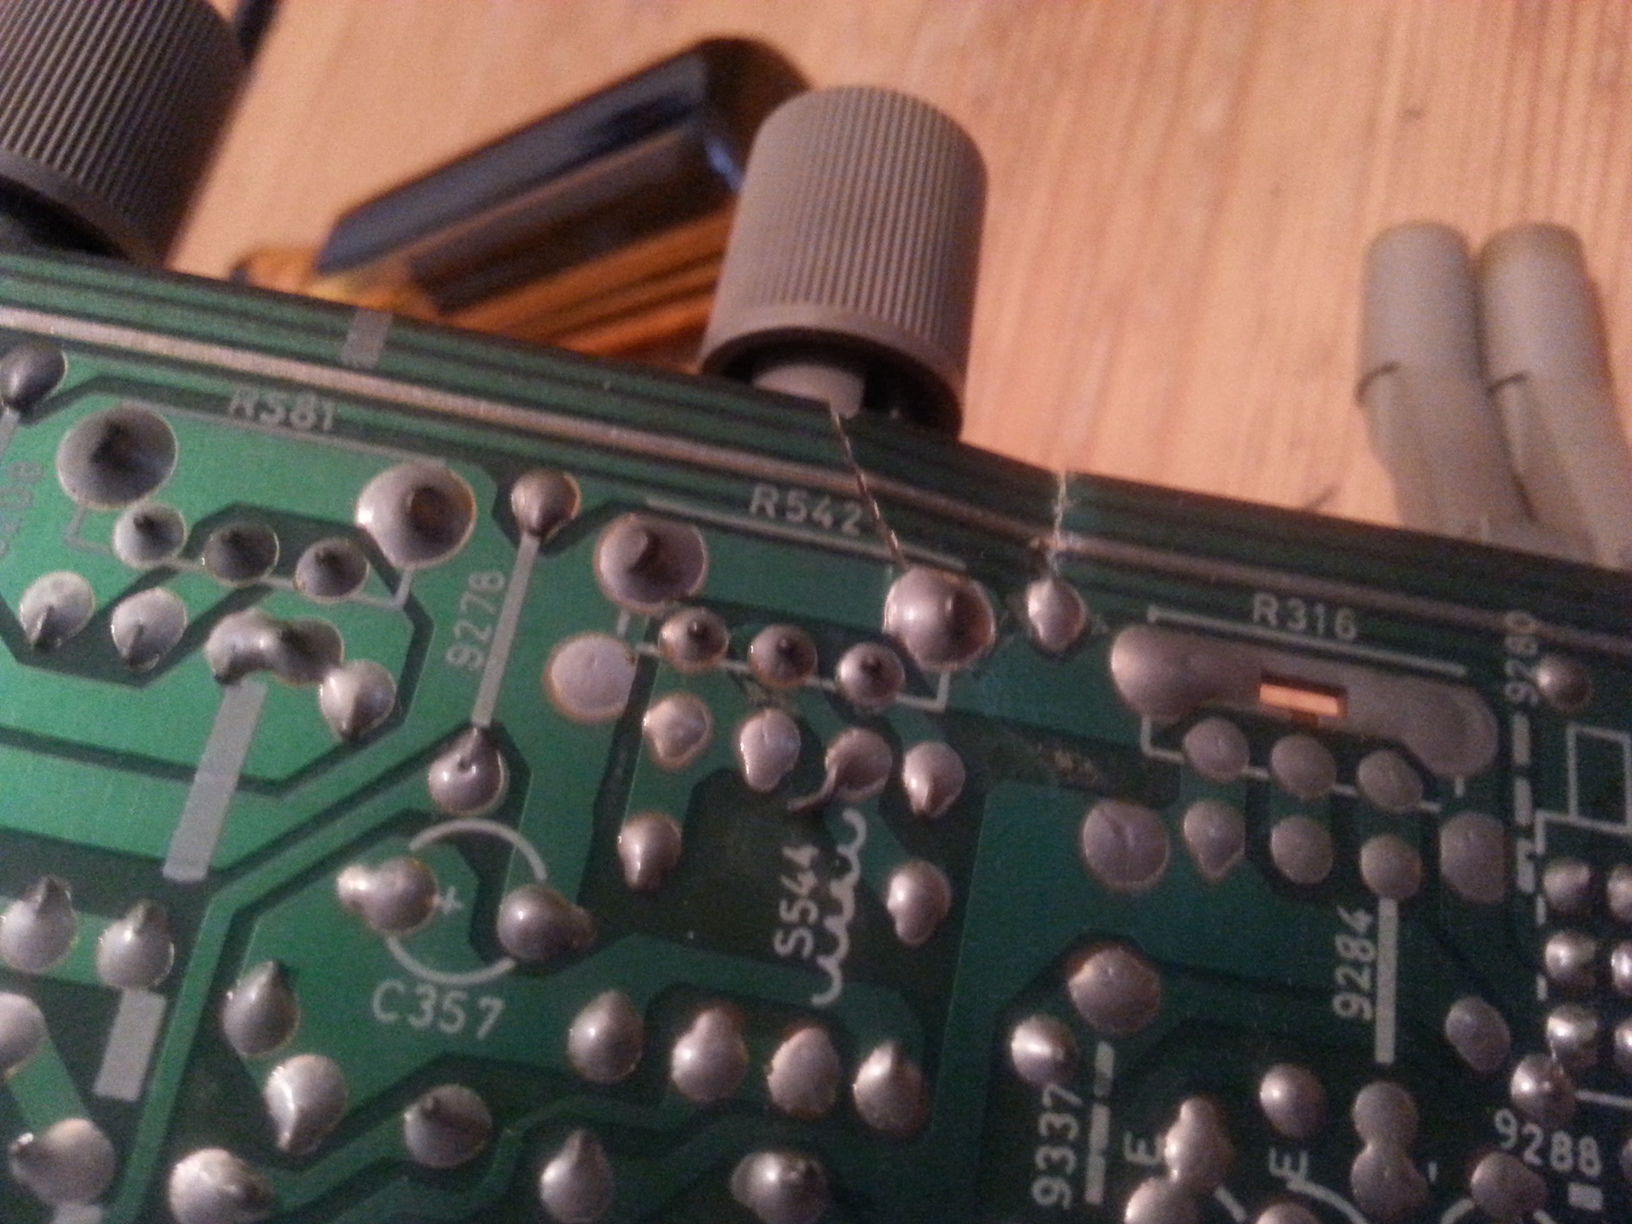
I also discovered that the board had actually cracked in more places than I thought. Not only was it cracked at the edge, but it also was cracked in the middle of the board. You can just about make out the crack in this image:

Sometimes I was able to bridge the gap with a small piece of copper wire (which I coloured red to mark it as something I had done) but most of the time I had to use sizeable lengths of wire.
The final board fix-up:

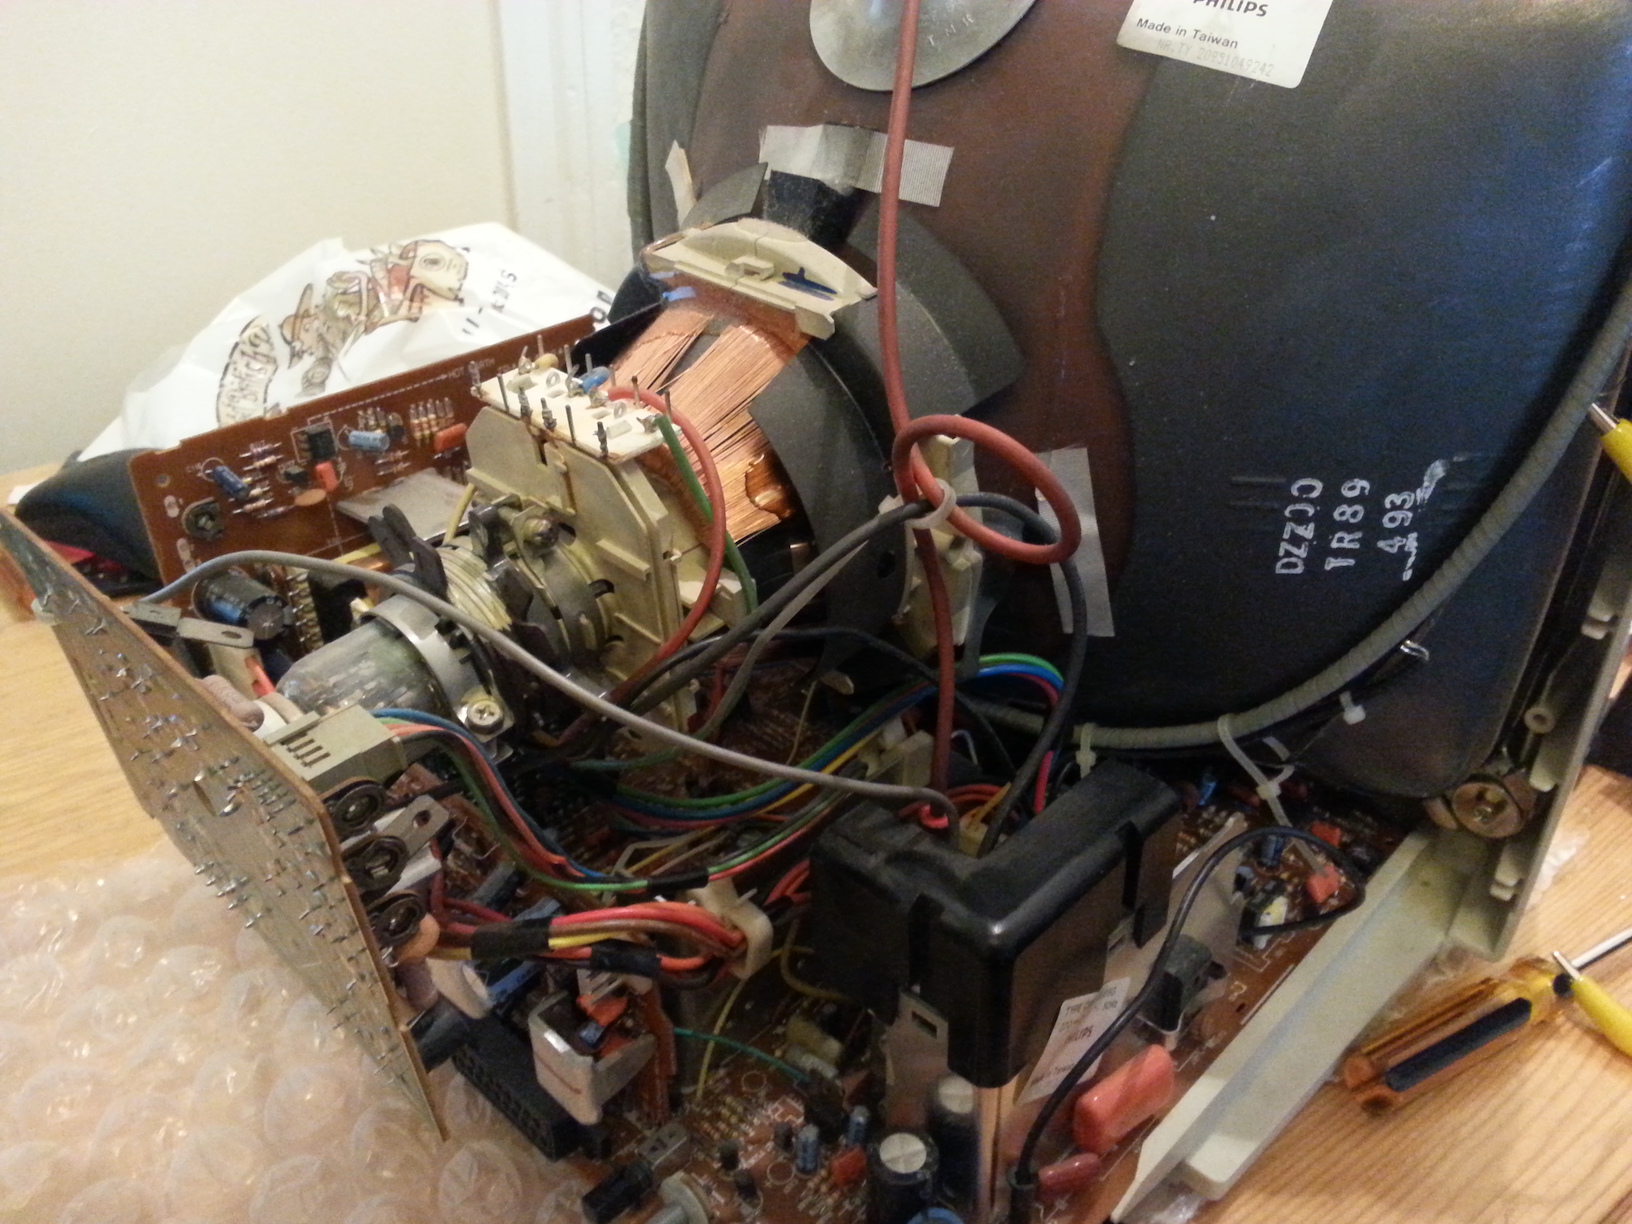
Reassembly
Here are some snaps of the unit as I was reassembling it:


Moment of Truth
I powered on the monitor, prepared to cut the power at the slightest sign of trouble…
There was none. The power LED came on, and what’s more, the front controls seemed to work too! Although I had not attached an input source yet, I was able to turn up the brightness, producing a grey raster, and found the green switch to be working as expected.
Since it hadn’t blown up in my face, I hooked up my Sega Mega Drive through the SCART socket and lo-and-behold, the monitor burst into life:
Both RGB and composite video inputs worked fine. There was just one issue with the front knob that I had repaired with glue. The control was very stiff, and it turned out that the residue glue in the knob was pressing up against a plastic nib that was designed to keep it in place. I had to disassemble the monitor again and scrape away the glue from the inside of the knob.
Conclusion
I only really spent 30 minutes or so playing the Mega Drive to test the monitor. Back in the day I would play it for hours on end in the evening and at the weekend. Those days are long gone. When I discovered that the monitor had been damaged in the post I began to regret ever buying the thing. Back then it was truly a “Personal Monitor” to me. Every computing device I owned could be hooked up to it. It was the workhorse of my youth and powered my curiosity into computing, but it just wouldn’t have the same purpose now.
That would have been true, had it not have been damaged. The experience of repairing the monitor re-kindled the same curiosity & excitement I used to experience when experimenting with computer hardware. And though the monitor is now packed away, it stands ready for action should I eventually want to walk down memory lane and enjoy its scanlines in all their shimmering glory.

Lessons Learnt
- Cheap superglue is awful. It gets everywhere and forms weak bonds. Araldite on the other hand is far more controllable and is very strong.
- Attempting removal of spilt cheap superglue with removal products often removes more than you intend. I managed to ruin the “Philips” and “Personal Monitor” logo this way when I attempted to clean up spillages :(
- Flux is amazing. Before soldering, if you apply additional flux to copper wire and circuit board traces it causes the solder to cling to the contacts much more reliably and resiliently. I wish I knew about it when I was younger. It would have made soldering so much easier.